Garden Planning: Getting Started

015

In the dead of winter, when the heavy snows, the bitter cold and the heating bills have us all rethinking living in New England, many a gardener has gotten through the short, grey days by curling up with a stack of colorful seed catalogs and a mug of hot chocolate to do some garden planning.

In our Teaching Gardens right now, we’re sitting down with our gardeners to talk about what this process looks like because, while it’s such fun to dream up the ideal garden, whittling your daydream down to something realistic can be a daunting task, particularly if you’re a novice gardener.

Garden planning is an ongoing process. During the season, we assess what we’ve tried this year and make notes about how to repeat, revise or reject it for next year. This information is invaluable because growing the best garden is all about knowing what YOU want out of it and tweaking your plan to match that goal.

Making a list…

And so we recommend beginning with the full-on daydream – the weed-free, bug-less, disease-resistant garden in your imagination that has every veg, fruit, herb and flower you want to grow. Start by making a list of everything you see in your mind’s eye. What’s growing there? Flip through those seed catalogs for inspiration and see what catches your eye. Jot it down without censoring so that, in the end, you have a long list of plants you’d be thoroughly delighted to grow. This is a critical (and really fun) step; we recommend beginning your garden from a point of giddy excitement so that in mid July when a heat wave blows through, and your patch of Eden needs watering daily, you won’t resent the work of keeping it alive.

Checking it once….

Once your list is drafted, you’ll no doubt realize that you have far more on your wish list than you can accommodate in your garden plot. There are so many beautiful, exciting crops available; it’s easy to want to grow them all. The trick is getting a satisfying mix of crops that you both want to grow and can fit.

The first crops to whittle away are those that won’t grow in your hardiness zone. USDA Plant Hardiness Zones are based on the average minimum winter temperatures, meaning how cold it’s likely to get during a typical season. This information gives a sense of what can survive in our climate and which crops will need a warmer or longer growing season. Most seed catalogs will state the preferred range for each crop. Territorial Seed Co. is a reliable source for this information, especially if it’s not listed for a variety you found on another site. To find your hardiness zone, you can check the USDA Plant Hardiness Zone website. Locally, we’re zone 5b in Leominster and Fitchburg and 6a in Clinton. Once you know your zone, work your way through your list for any crops that need warmer zones, represented by numbers higher than yours. Cross them off or see if they might make suitable houseplants instead.

Checking it again…

Once you’re down to just the crops you can grow out of doors, you’ll want to weigh up what it takes to grow each crop against your desire to grow it. Each crop needs a certain amount of space (which you can check in our Growing Guide) and it will need that space for a set amount of time, be it a month or the whole growing season. Some things require significantly more effort to grow, like tomatoes that need pruning, staking and tying up. And some crops are easy enough to find from other sources that you might not consider them worth your garden real estate. All these factors help you determine whether or not each crop is, in your opinion – the only one that matters here – worth it. Mull it over. Then mull it over some more. During the winter season, take your time and re-prioritize your list until you feel satisfied with the mix.

Getting it on paper

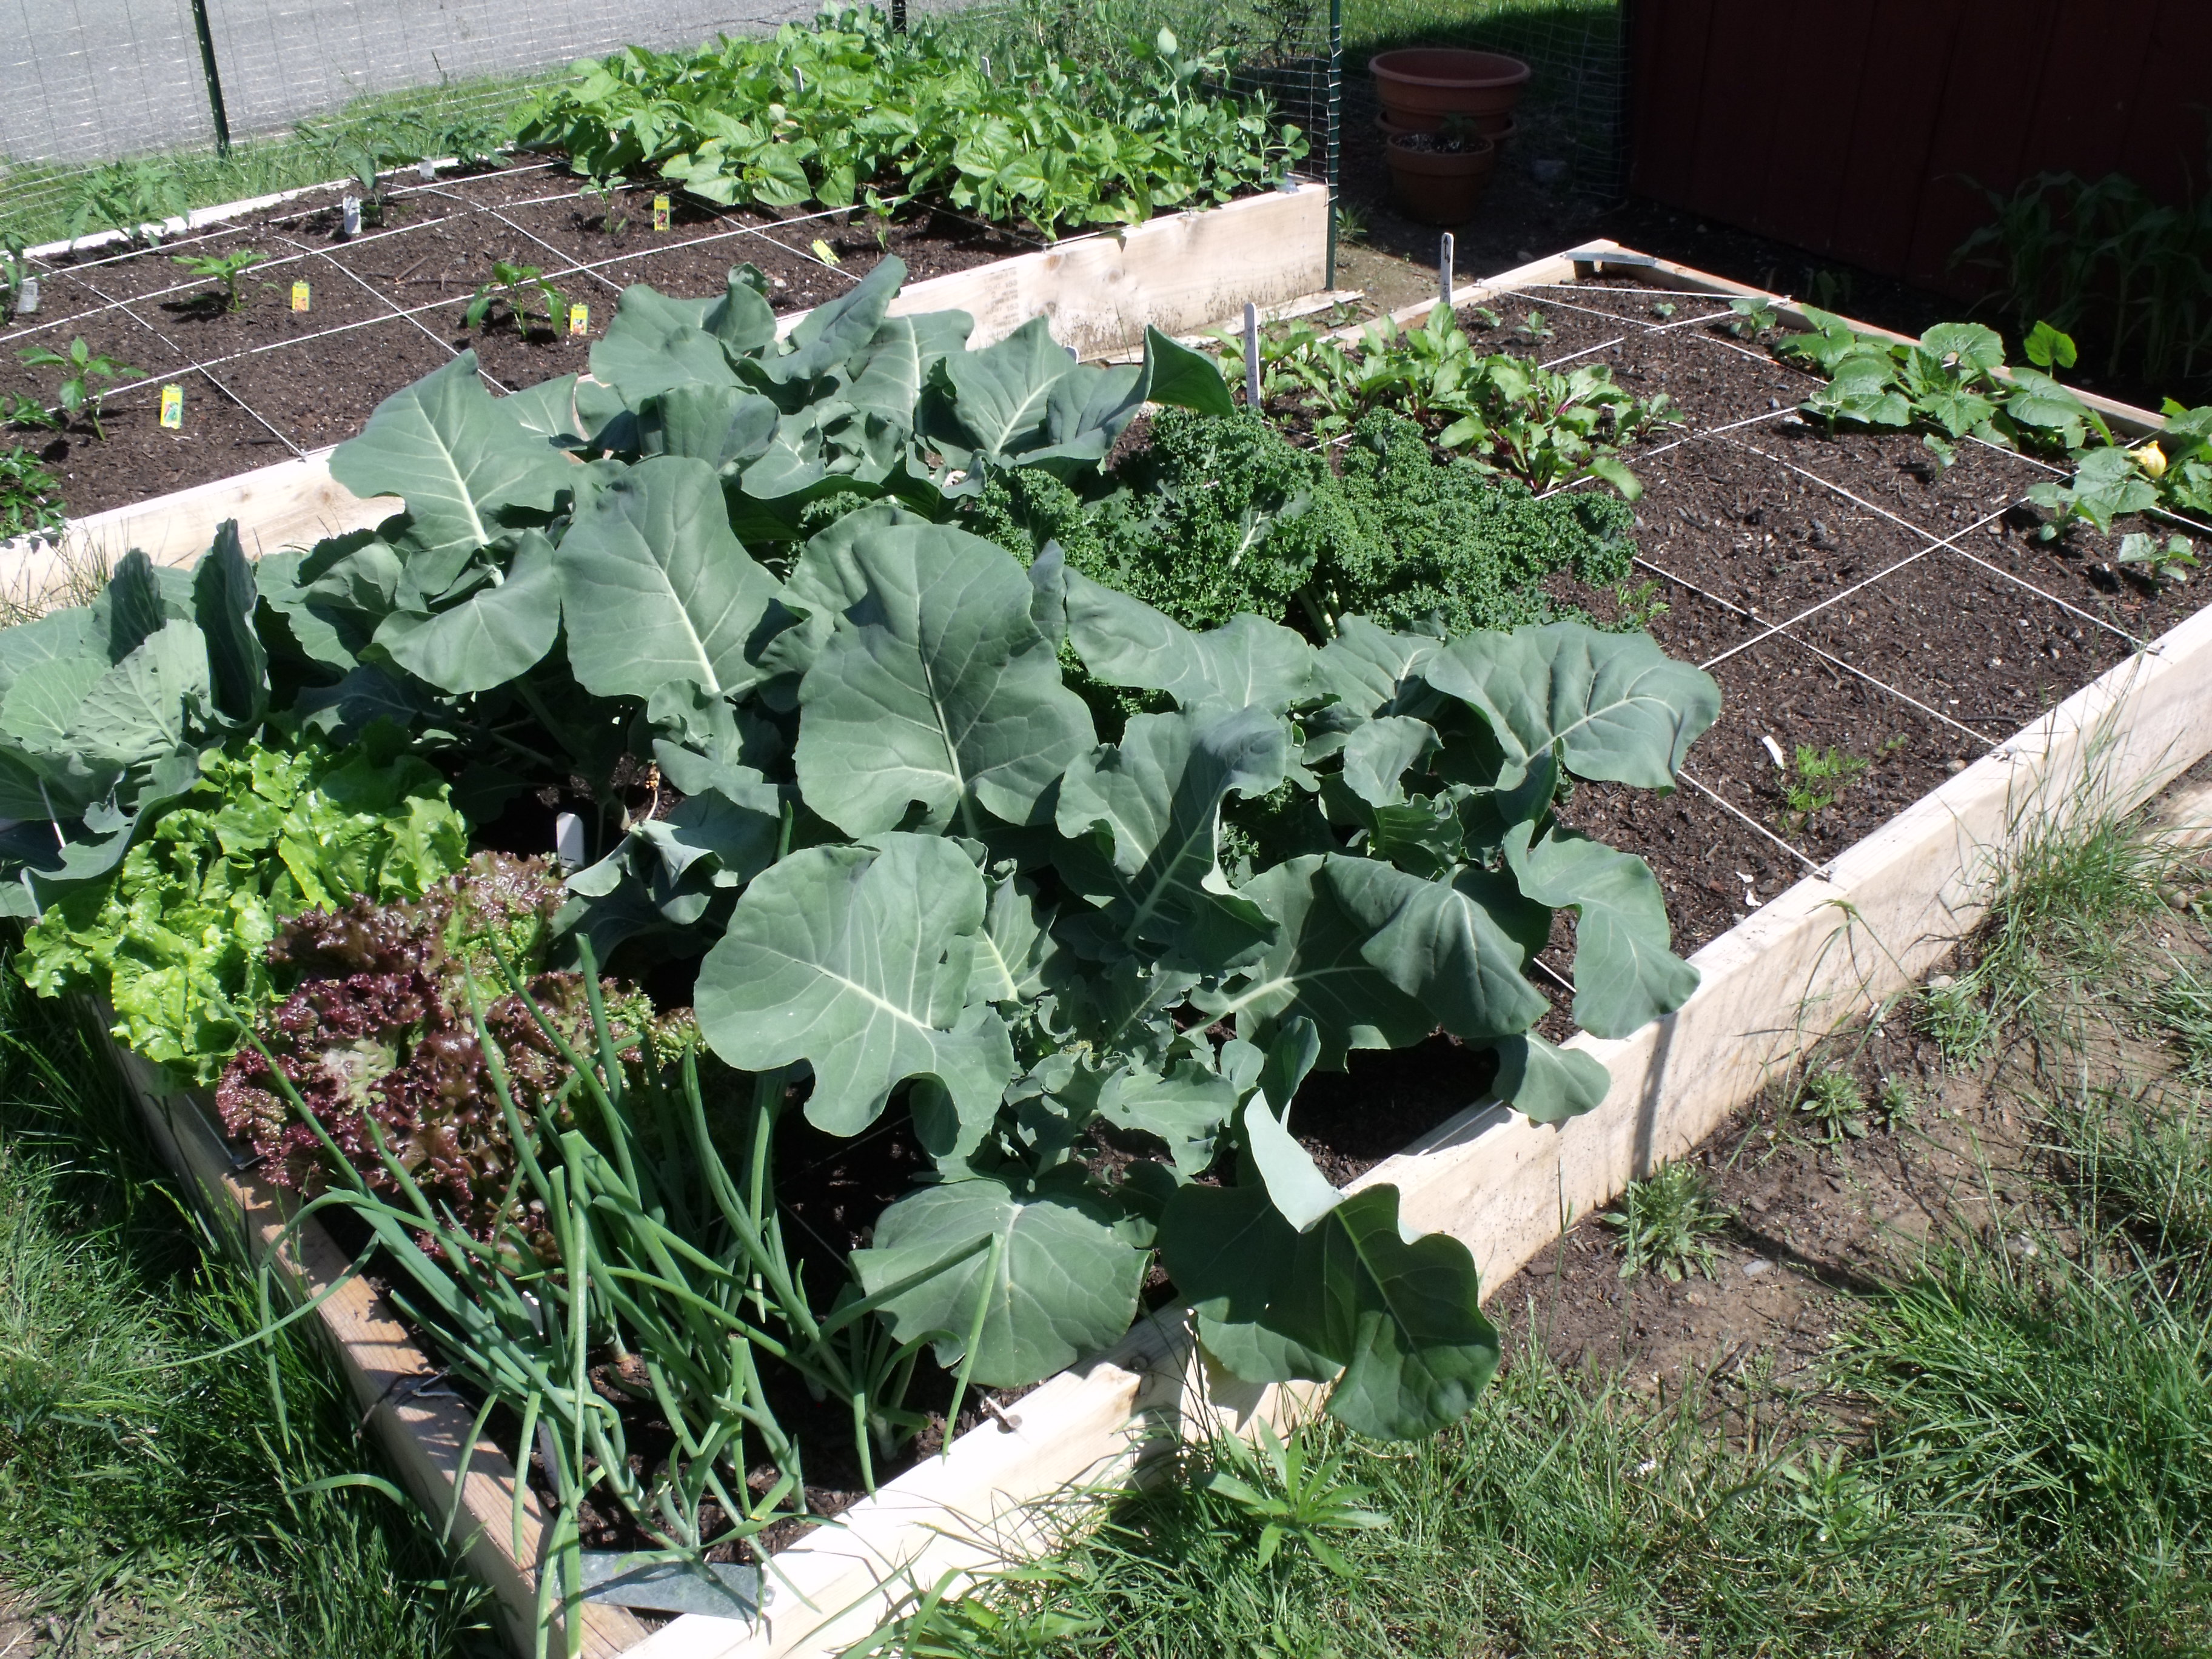
Here’s where push comes to shove. Looking at your list, canGarden Planning Organizer you jigsaw all your crops into your garden space? Put it on paper so that, come spring, you’re confident you have the room for everything you’ve purchased. This part may take several drafts, so have your eraser handy. In fact, you might have to repeat the previous step if it turns out you just don’t have the space you thought you did. Again, take your time over the winter and have fun puzzling it out! Come spring, you’ll have a clear plan for your garden and a record to refer to the following season.

Garden Planning Organizer with blank square foot gardening grids
Getting the Most from Your Harvest Season

Janet's Harvest_8-13-13_JO

Ah, the harvest season! It’s finally time to enjoy the literal fruits of our labor in the Teaching Gardens and in our gardens at home, right?

Al-most!

There’s a critical step between watching those glittering fruits and dew-speckled veggies mature in the garden and being able to devour them: successful harvesting. Harvesting seems like a simple process – and don’t get us wrong, it is – but it’s also a step that, if done improperly, can wind up spoiling your produce or impeding future harvests. Correct harvesting isn’t always as simple as yanking the veg off the vine and it can be the difference between one delicious bell pepper and that full peck of peppers you were anticipating. In short, it’s worth committing a few tips to memory.

There are three important considerations when harvesting: when to harvest, how to harvest and how to store your veggies if you’re not planning to start the devouring straight away. Below, we go through some common crops and outline how to take them from your garden to your table with maximum flavor and nutrition. Take these tips to your garden and, with a little practice, you’ll be a harvesting pro!

image7

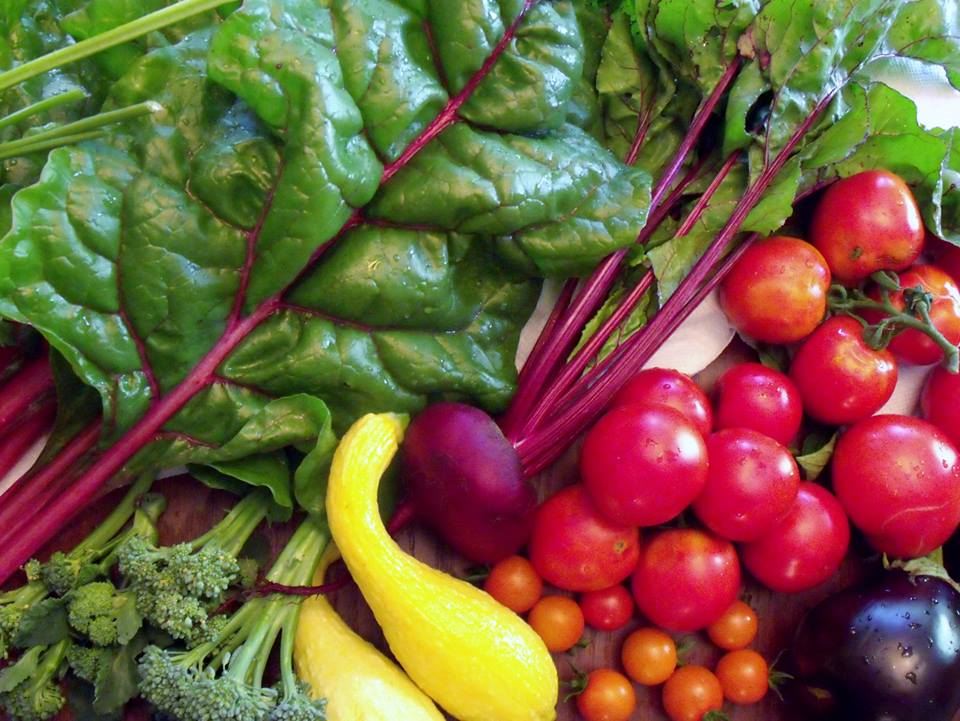
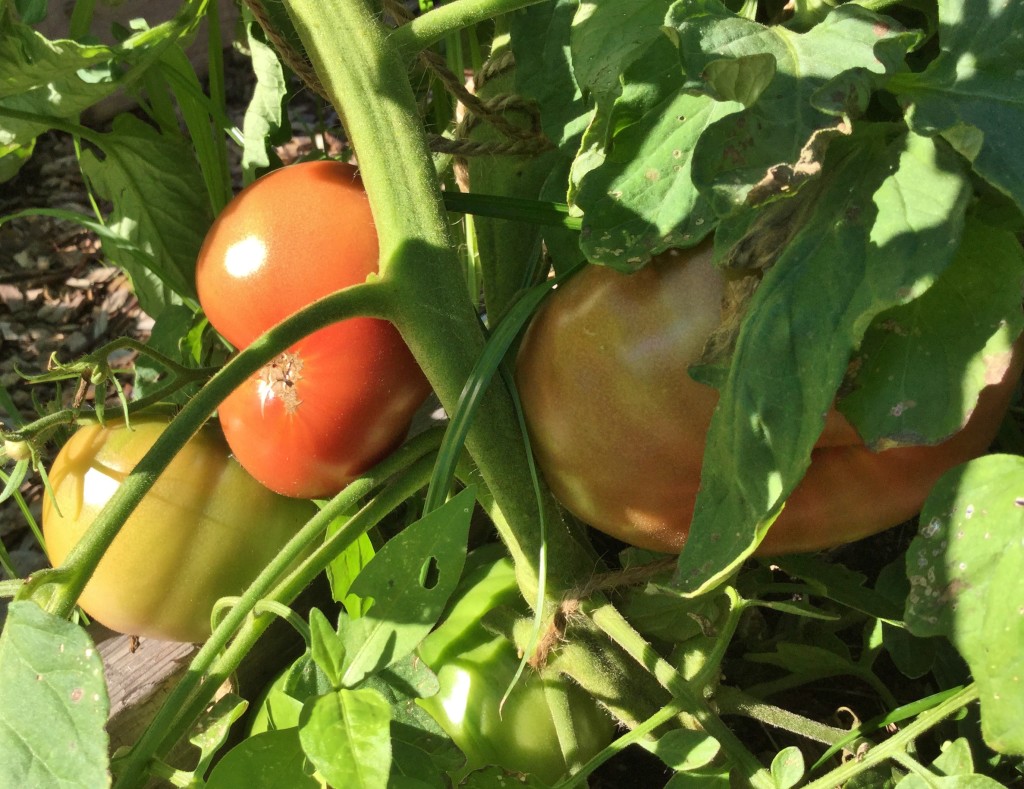
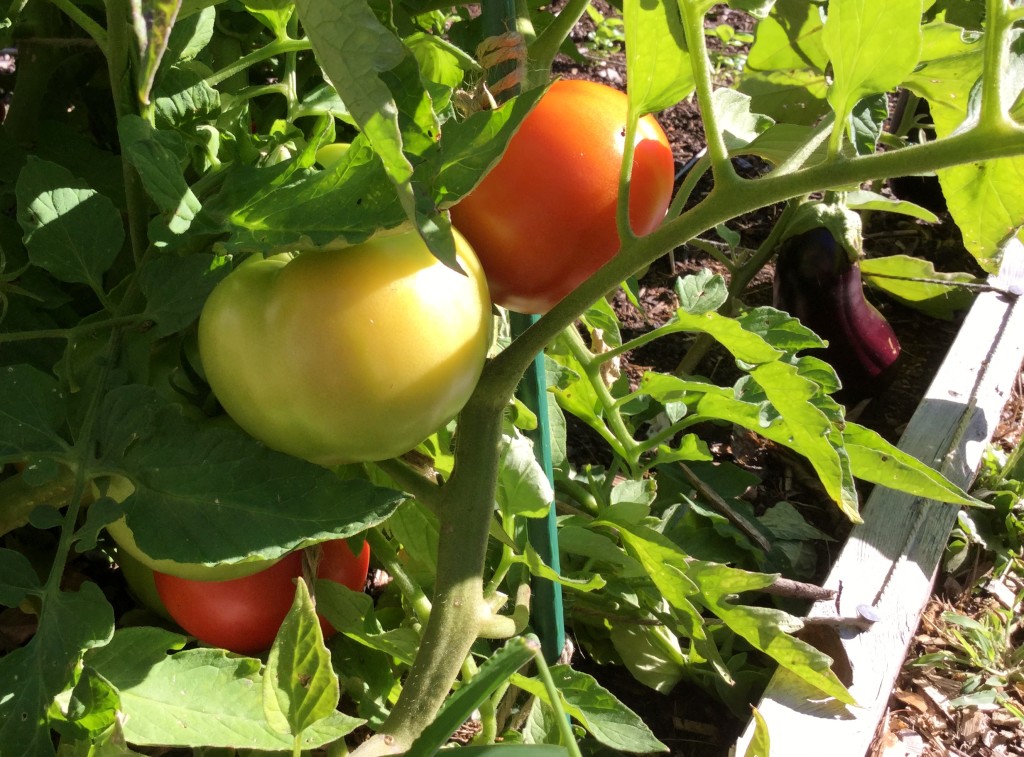
Tomatoes: Tomatoes come in all shapes, sizes and colors, ranging from classic red to pink to yellow, purple and even white. Tomatoes are fully ripe when the fruit is firm, but not hard, and the tomato is uniform in color, which makes it especially important to be familiar with the variety you’re growing. For example, you’ll miss out entirely on your Sun Gold cherry tomatoes if you’re waiting for them to turn red because this variety turns a deep, brilliant orange when ripe. Ripe tomatoes should twist off easily from the vine.

Ripening tomatoes are prone to splitting, which occurs, usually after heavy rain, when the fruit inside grows faster than the peel on the outside and causes the skin to burst. Keep an eye on the forecast: if you’re due for a particularly rainy week and your tomatoes are close to ripe, pick any that are ripe or near-ripe to avoid this.

If you’ve picked your tomatoes before they are fully ripe, or even when they’re green, they’ll continue to ripen indoors on a windowsill. Once they reach peak ripeness at room temperature, by all means eat them! If you can’t eat them immediately, a short stint in the refrigerator won’t hurt; just give them about half a day back on the shelf to recover some of their flavor and aroma afterwards.

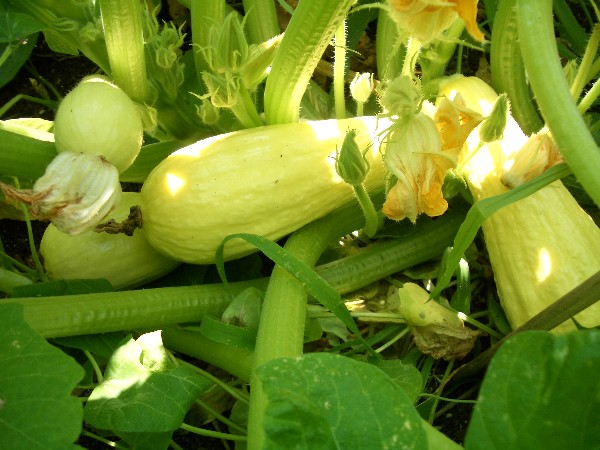
Summer Squash (4)Squash/Zucchini: Squash and zucchini are harvested when they reach about 6-8 inches in length. Have you ever thought you caught them all, and then, days later, discovered a torpedo-sized fruit among the foliage? While your monster squash might win you a contest somewhere, baseball bat fruits aren’t ideal for eating. The skin will be tough and the inside will be mostly wet, seedy membrane instead of creamy, melt-in-your-mouth squash. Be diligent about checking your plants at least every other day while they’re are producing. This regular harvesting will spur plant production and ensure your harvest doesn’t get ahead of you. To harvest, cut the fruit off the vine using a sharp blade (pruners, a sharp knife, scissors), and leave about 1 inch of stem on the fruit. Refrigerate, unwashed, in the crisper drawer for up to one week.
Green Peppers (2)

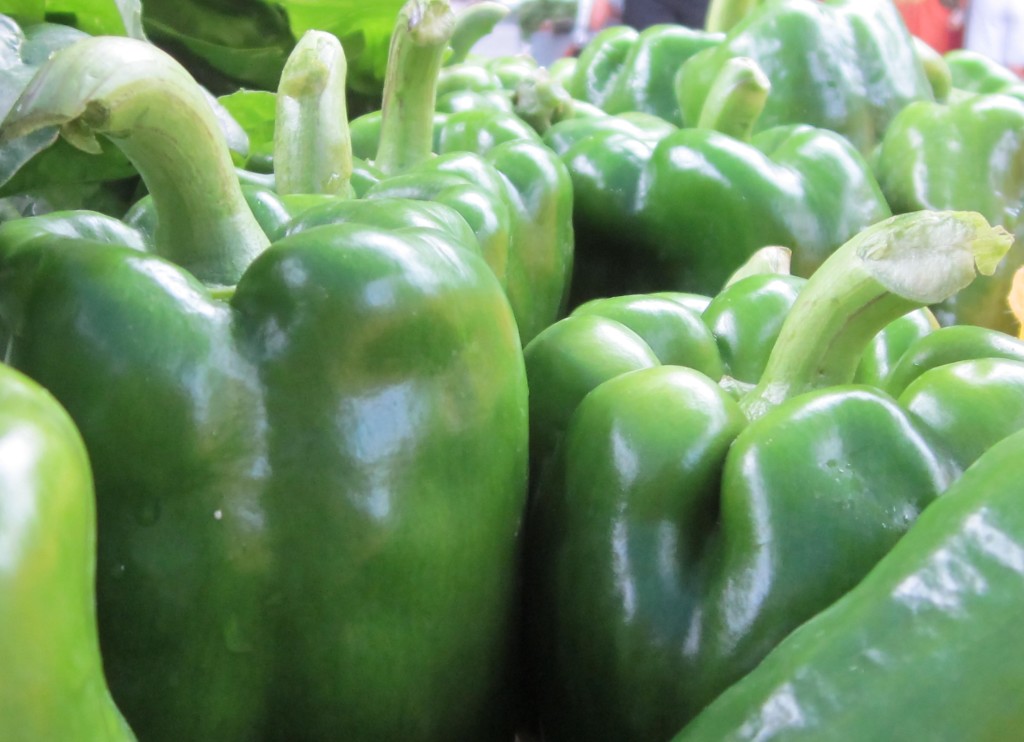
Peppers: Bell peppers are harvested when firm, glossy, and fully grown, usually at about 3-4 inches in size. To harvest the fruit, use a sharp blade, leaving about an inch of stem on the pepper; yanking or trying to twist off the fruit risks uprooting the whole plant and bringing about a sudden, tragic end to your pepper harvest season. Avoid this.

Green peppers are technically unripe bell peppers. Given sufficient time, your bell peppers will turn red, orange, yellow, purple or brown depending on the variety you’ve chosen, and as their color develops, the flavor will get sweeter.

For hot peppers, the longer they are kept on the vine, the more the heat will intensify. Refrigerate whole, unwashed peppers for 1-2 weeks in the crisper drawer.

DSCF5055

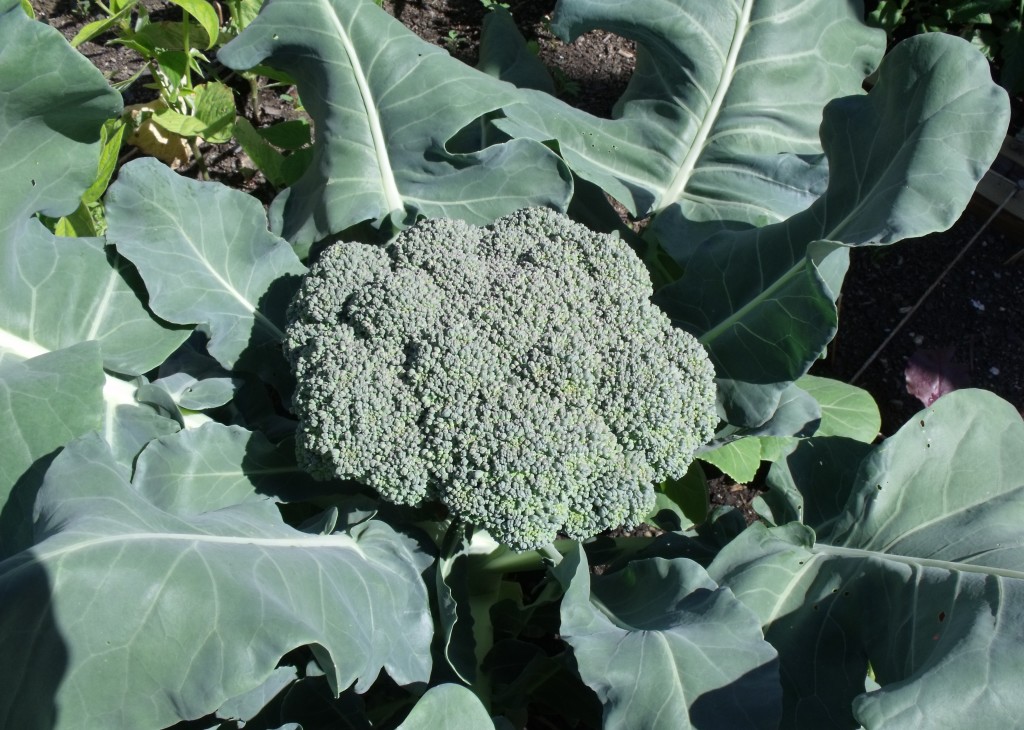
Broccoli: What we know as broccoli is truly a collection of teeny flower buds clustered together to form a head at the center of the broccoli plant. The best time to harvest the broccoli head is when it’s 4-8 inches across (depending on variety), is dark green, and the flower buds are still tight. Any sign of swelling or hint of yellow indicates that the buds are about to flower and the head is past its peak. Cut the mature head off with a sharp knife, leaving about 2-3 inches of a single, thick stem. After this first harvest, side sprouts will spring from the leaf joints of the plant and can be harvested in abundance for weeks to come. Store unwashed broccoli in an airtight container in the refrigerator. Cooked broccoli freezes well.

2012-08-26 011

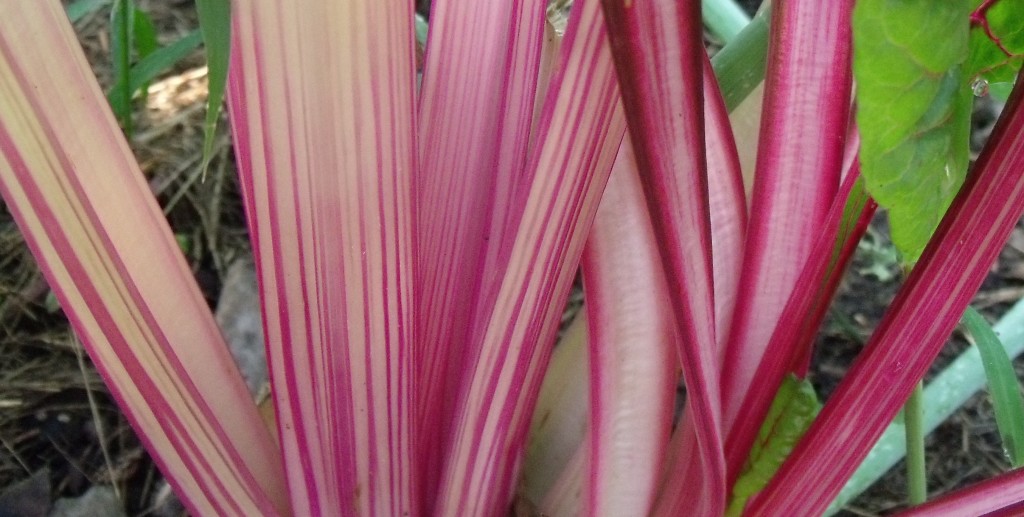
Swiss Chard and Kale: Chard and kale are prolific vegetables. Individual plants will produce from early spring into late fall, and continual harvesting will spur the plant to keep growing. To harvest, remove the leaves at the bottom of the stalk with a knife or clippers. The inner leaves will continue to mature and will be ready for your next harvest. Store unwashed leaves, wrapped in a damp towel or in a container in the refrigerator for up to 1 week.

016 - Copy

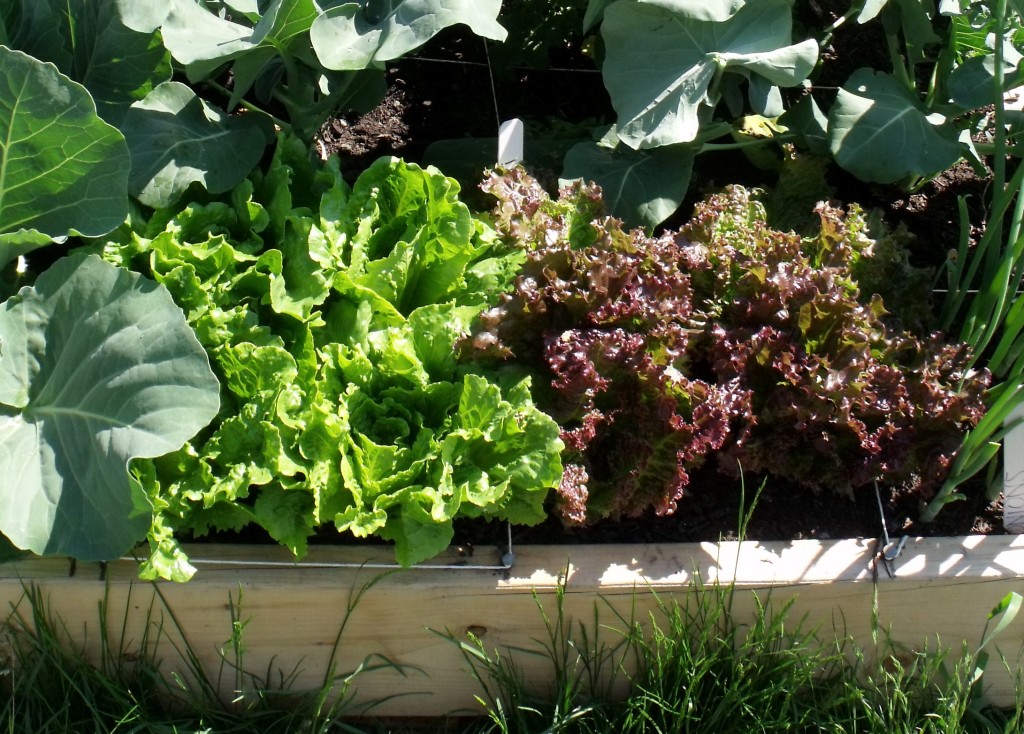
Greens: Harvest lettuce leaves when they’re young and tender; if your plants are under heat stress, this can help to stave off bolting. It’s also best to pick early in the day when the leaves are least bitter. If you have lots of plants, harvest the outside leaves from several plants by using a sharp knife, carefully cutting each leaf off at the base. If you want to remove an entire head of lettuce, again, use a sharp knife and cut the head off at just above ground level. Tender salad greens are best used within a few days. Wrap unwashed greens in a damp towel and place them in a plastic bag in the refrigerator. If your greens wilt between the garden and the kitchen, they can be reinvigorated somewhat by submerging them in ice water for about 15 minutes. 

Arugula, like lettuce, is best harvested when young. If you wait too long, the arugula will become tough and incredibly spicy. Using a sharp knife, cut leaves off your plants when they reach 2-3 inches in length. Store like lettuce in the refrigerator.

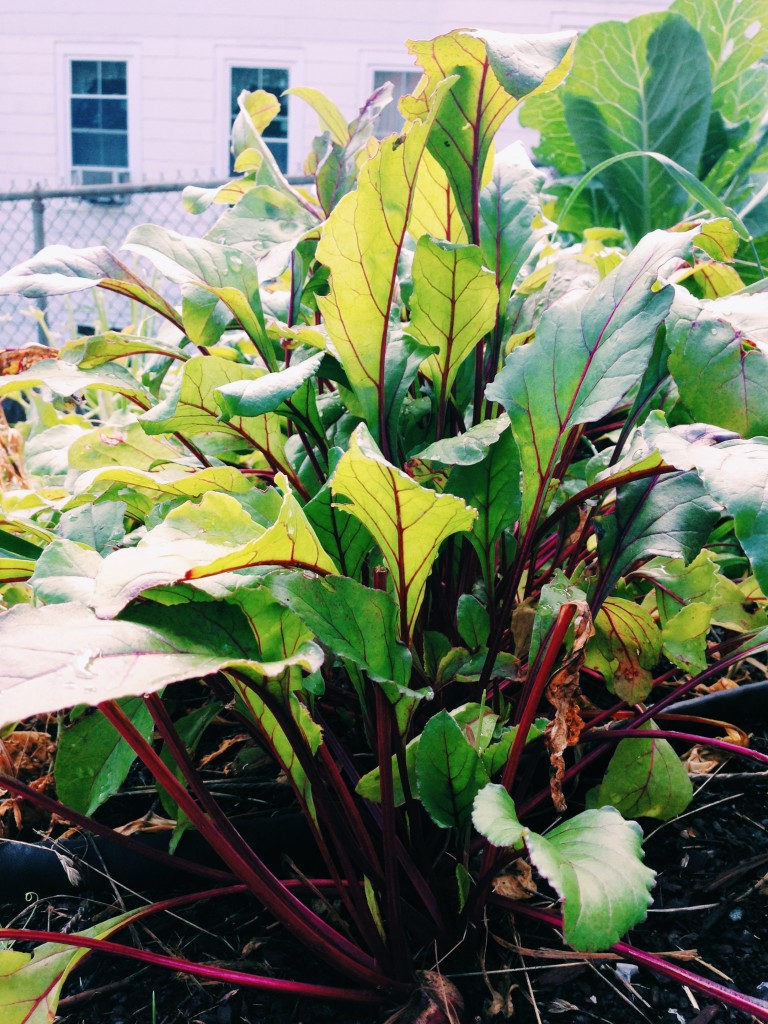
Beet Greens

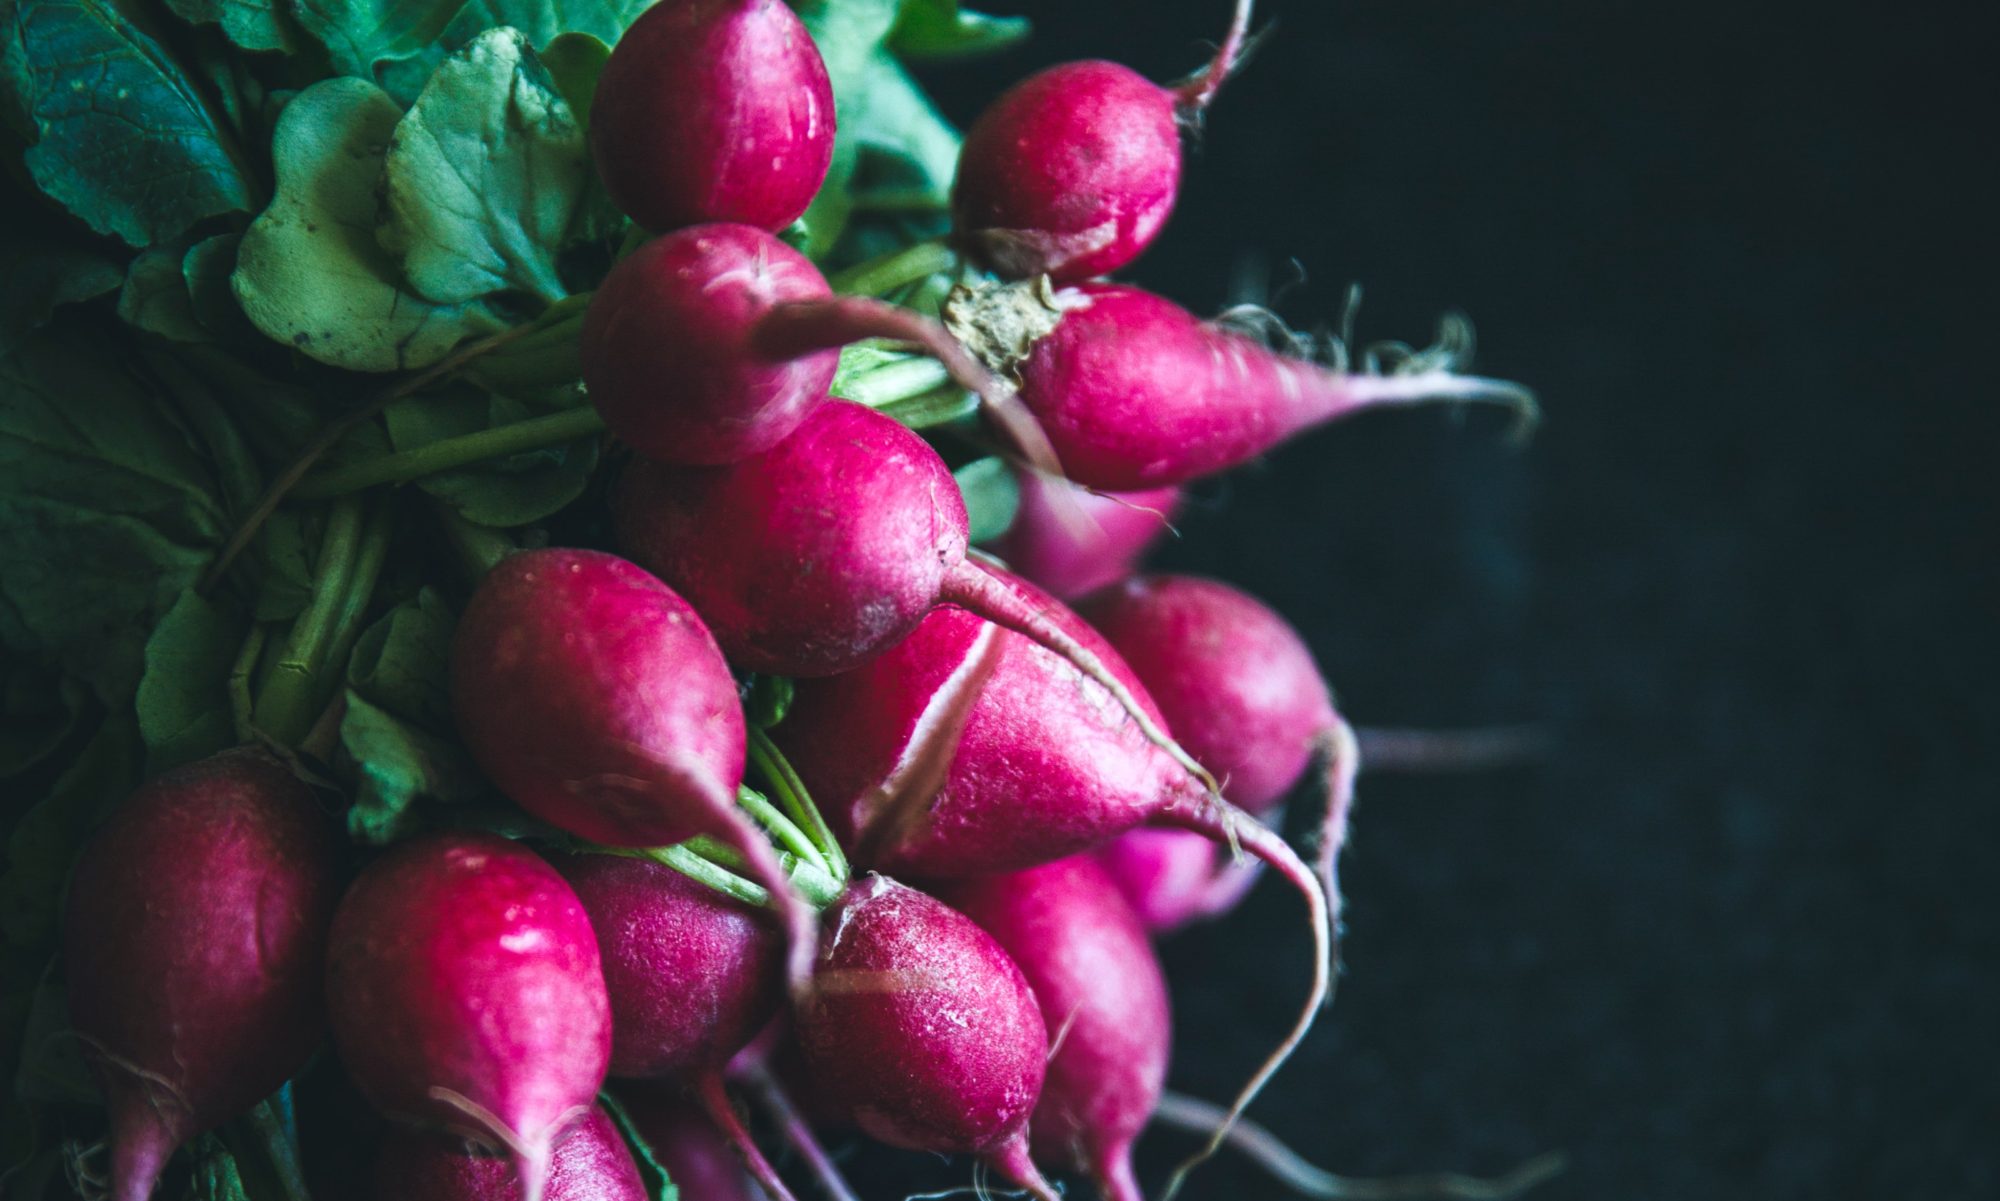
Beets: With all root crops, the trick is knowing when they’re ready. The easiest way to do this is to dig down and feel around the base of the stems of the beet to determine the root size with your finger. Beets are ready to be harvested when they reach about 1½-2” in diameter. Gently pull the plant up from the soil, careful not to disturb other nearby beets that are not yet ready for harvest. Beet greens are delicious, particularly when juiced. Cutting about an inch away from the root, remove the greens and store as you would lettuce or arugula. Keep the roots unwashed and in an airtight container in the crisper drawer where they’ll store for several weeks.  

image2

Carrots: Similar to beets, you can determine the size of a carrot by feeling around the base of the greens with your finger. They may be pulled up when the roots are ½ – 1” in diameter. Pull the carrots gently and straight up from the earth. As with beet greens, carrot greens make a great addition to juices. Cut or twist off the tops and placed the roots unwashed in the crisper drawer for up to 4 weeks. 

DSCF5174

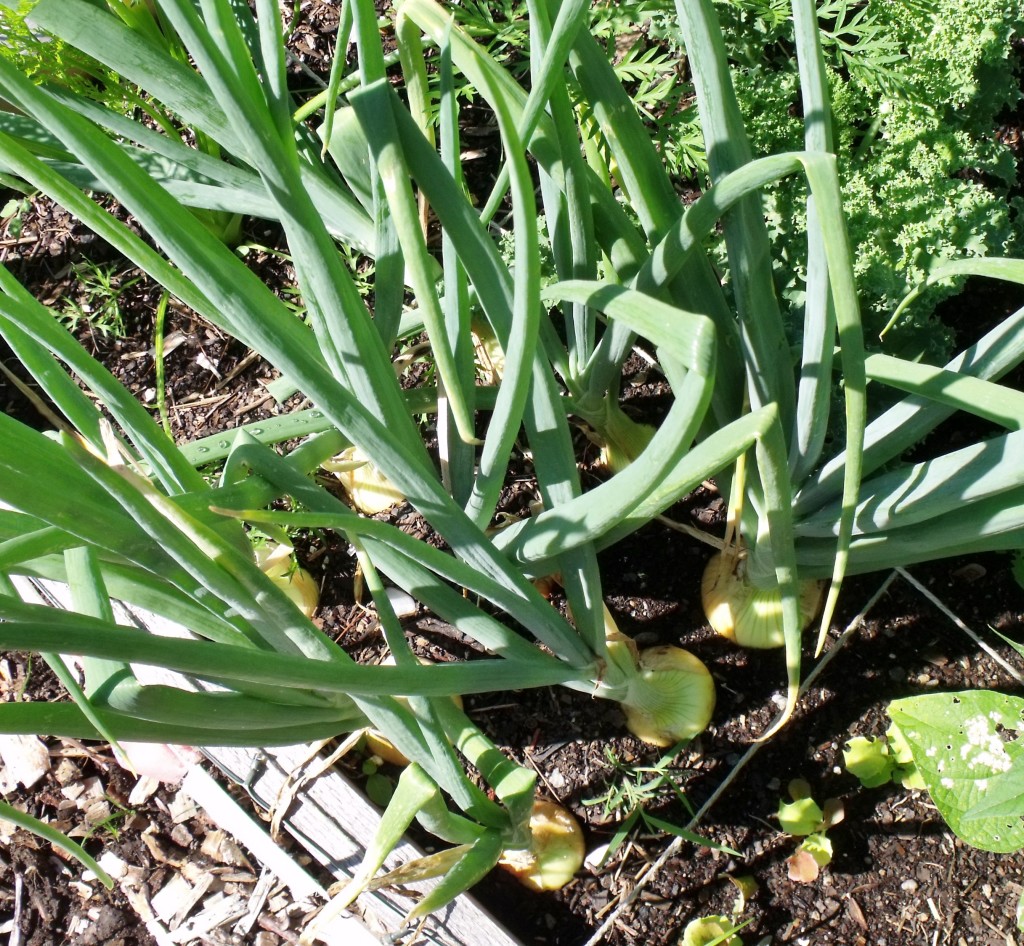
Onions: Onions are ready to be harvested when their tops fall over naturally and the leaves shrivel and turn brown. After you dig up the bulbs, you may set them aside in a sunny, airy location for 3 to 7 days to dry, or cure. Do not refrigerate onions. After drying, store in a cool, dry place, (ideally 40-50F) and they will keep for months. Store cut onion in the refrigerator in an airtight container and use as soon as possible.

Happy harvesting!

Garden Fresh Tomatoes Three Ways

image4

The most highly anticipated crop of the summer, the essence of fresh flavor, the garden tomato, is finally showing its red face! Like in most gardens in the North Central MA area, our tomato crop is ripening late this season due to the cool night temperatures we’ve been having, but it’s finally producing its first round of harvestable fruits, and we are delighted. In fact, some of these tomatoes never make it out of the garden as we tend to think the best tomatoes are the ones eaten right off the vine, warm from the afternoon sun.

Once the intense tomato harvest hits, however, you might find you need a few more creative ways of using them up before they pass their peak ripeness. It’s such a shame to see a good tomato go to waste, don’t you agree? (Also, if you’re curious about tomato storage, read up here and here for some cool food science info!)

image8

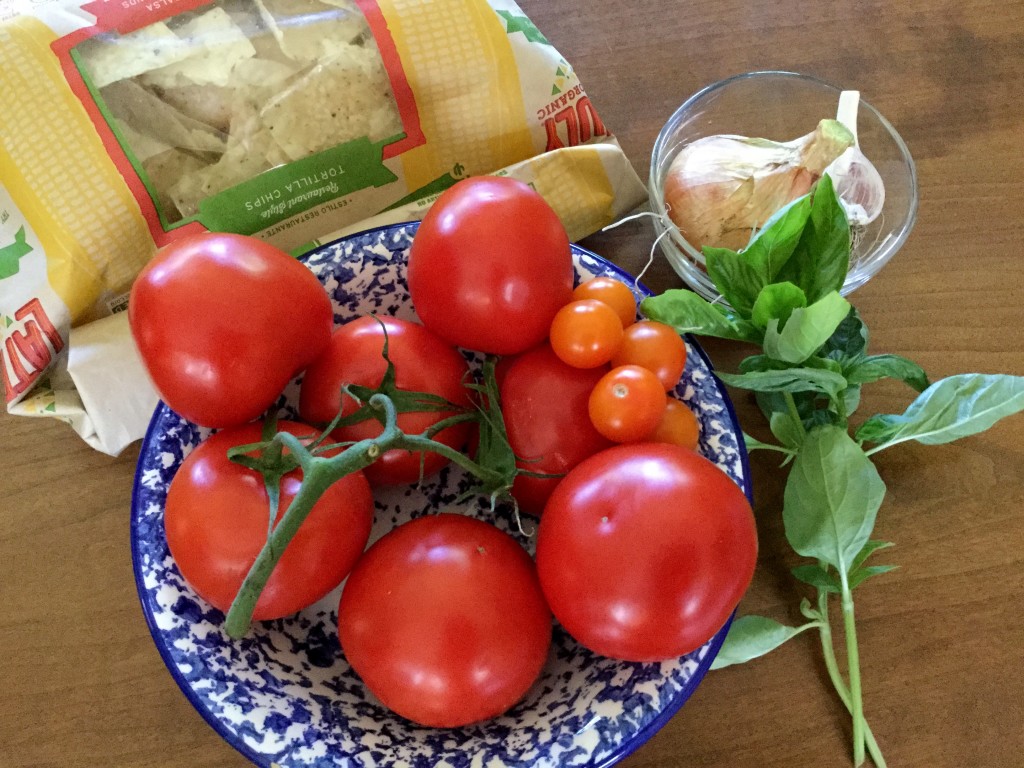
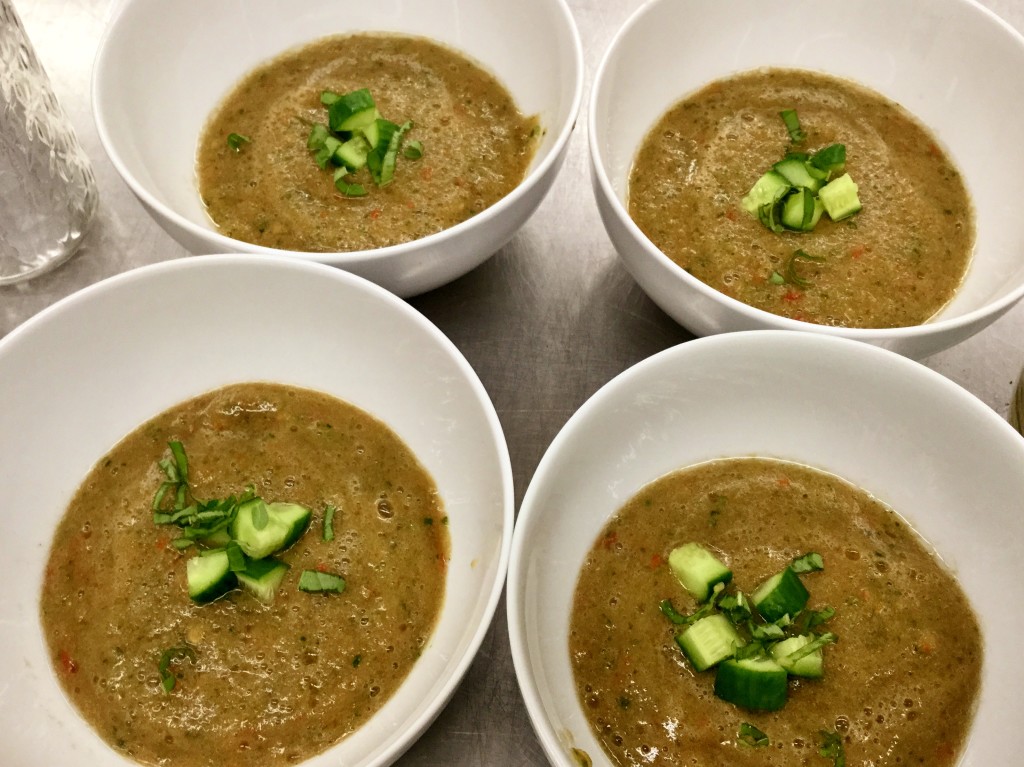
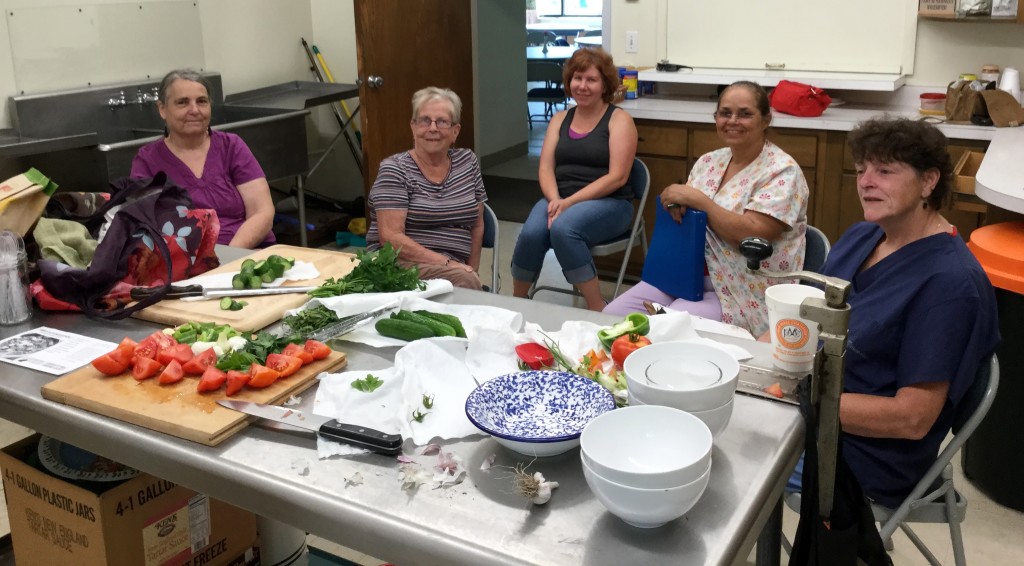
In our Teaching Garden cooking classes this week, we’re learning how to make gazpacho, a refreshing and cold Spanish tomato soup, perfect for the summer heat. Below is the recipe in our GP cookbook, Dig IN. This recipe is fairly traditional, but omits the typical day-old bread and includes the unique addition of tarragon, an anise-flavored herb that gives the soup a little more kick. If you enjoy this recipe, check out our full Dig IN cookbook, which is available for purchase on our website. It includes plenty of recipes to help make use of the growing harvest and also supports GP programming!

image1

Easy Blender Gazpacho

3 or 4 very ripe tomatoes

1 small cucumber

1 large garlic clove

1 small red pepper

1 small onion

5 sprigs parsley

1-2 sprigs basil

1 teaspoon tarragon

Place tomatoes and cucumbers in blender first. Blend on low, adding ingredients a little at a time until everything is just barely mixed in. (You may have to stop once or twice to stir and incorporate all veggies).

Serve immediately.

 image4

Want more ideas for using up your tomatoes without sacrificing their fresh flavor? Try these two simple, low-cook dishes – both delicious, but also time saving. Change up the recipes based on your own personal taste and what you have available; often the best recipes are created from experimentation.

Tomato Bruschetta

Up to 2 cups of diced tomatoes (any kind you have on hand)

1-2 cloves garlic, finely chopped

3 tablespoons extra-virgin olive oil, plus 1 tablespoon for serving

Pinch of red pepper flakes

¼ cup fresh basil leaves, sliced into ribbons

1 tablespoon good quality balsamic vinegar

½ baguette, cut into ½-inch slices

Preheat the oven to 350 degrees F.

Toss tomatoes, garlic, 3 tablespoons extra-virgin olive oil, red pepper flakes, basil, and balsamic vinegar in a bowl. Season to taste with salt and pepper. Set tomato mixture aside at room temperature to allow the flavors to mingle while you prepare the bread.

Slice the baguette and arrange in a single layer on a baking sheet. Toast in the oven until golden brown, about 5 minutes. To serve, top each slice with tomato mix and drizzle with olive oil. Prep just before serving to avoid the bread getting soggy.

Tuna Stuffed Tomatoes

1 pickle

6 sprigs cilantro

2 tablespoons Greek yogurt

¼ avocado

½ can tuna

2 thin slices red onion

1 jalapeño pepper

2 medium whole tomatoes

Pepper to taste

Slice tops off tomatoes and scoop the insides out into a small mixing bowl.

Dice tomato tops, avocado, pickle, red onion, and jalapeno pepper. Chop cilantro. Toss everything together: tomato insides, tops, avocado, pickle, red onion, jalapeño pepper, cilantro, Greek yogurt, and tuna. Add pepper as desired. Fill tomatoes and serve.


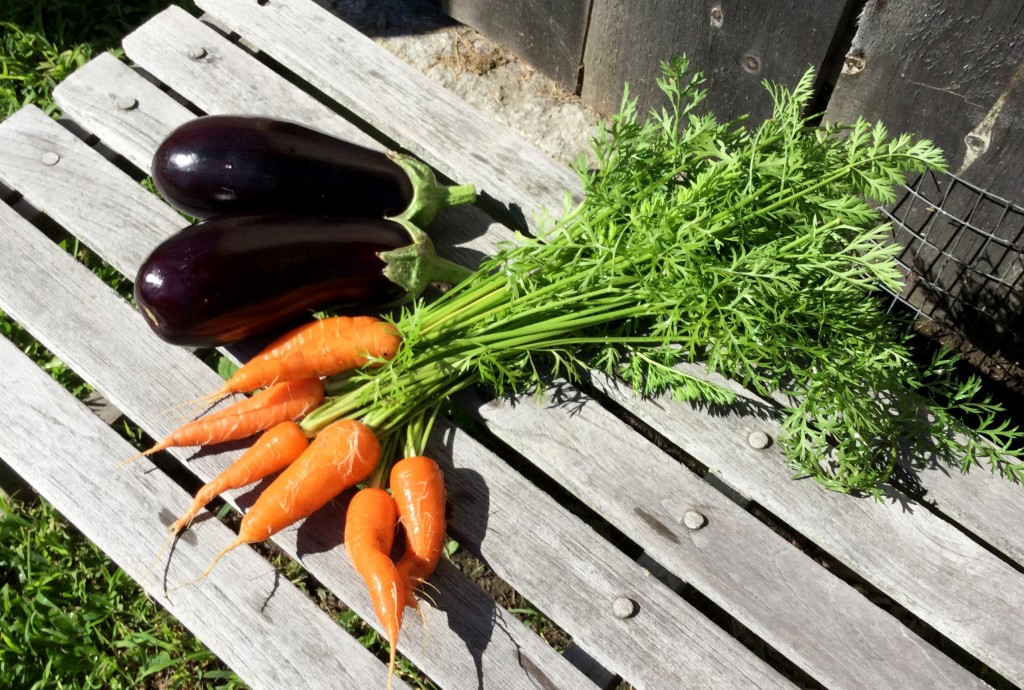
And, just because they’re too lovely to leave out….here are the eggplant and carrots harvested from the Leominster Teaching Garden this week!

image2

Experimenting in the Garden

“There are no failures in gardening, only experiments.”

It’s so true, isn’t it? The garden is such a wonderful place to try something new and, when it doesn’t quite go as planned, revise and try again next year. In a community garden, as all our Teaching Gardens are, we even have the benefit of seeing others’ experiments and incorporating their results into our plans.

In our Teaching Gardens, we’re in the middle of a tomato experiment right this minute that were certainly planning to adjust for next season.

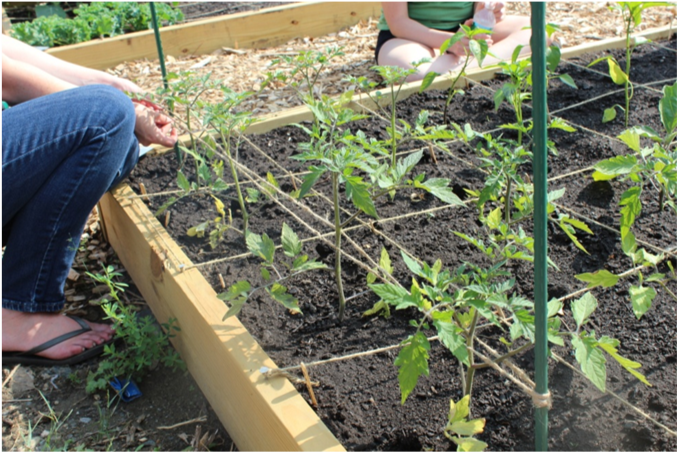
Did you see our earlier blog post or our FB post about the Florida weave method for staking tomatoes? It went like this….

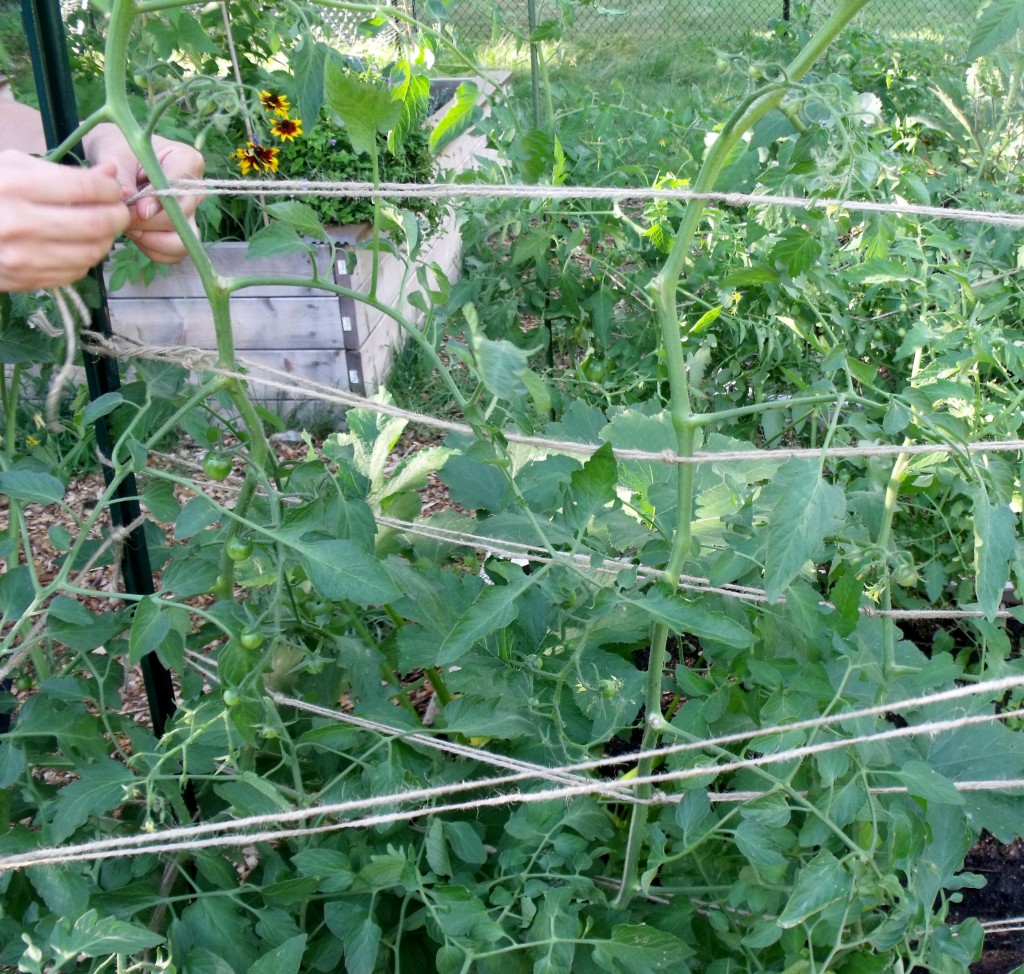
“Place a stake at either end of a row of tomatoes and string twine from stake to stake, weaving in front and behind each plant. As the plants grow, work your way up the stakes with additional rows of twine, spaced about 6” apart or as needed. Easy!”

weave

 Ah, well, easy in theory.

The difficulty became apparent fairly early on. As our vines grew and began to produce weighty, mouth-watering tomatoes, we saw the stakes begin to sag toward the middle, born down by the heft of the four tomato plants between them. In our Clinton garden in particular, where the ground beneath our raised beds is extremely compacted, the stakes were difficult to press far enough into the ground for good stability.

We’d opted for the metal stakes because they don’t harbor blight year to year as wooden stakes can, and we thought they’d last a bit longer. Sadly, they simply aren’t strong enough to support the tomatoes effectively, which outweighs any disease-resistance or lifespan benefits.

At this point in the season, how can we keep the tomatoes off the ground where they’re at risk of rotting?

Option 1: Individually stake the plants. We’ve done this in a few plots in Clinton where it’s been clear no other option would adequately support the vines and their fruit. It’s a bit tricky at this stage to disentangle the vines from the existing weave of twine, but worth it for the end result.

Option 2: Tie the end two tomatoes directly to the stakes, leaving only the two center tomatoes resting on the twine. This has been just enough added support in some cases that we think it will suffice for the next couple months.

Our second, complicating issue is that the vines wobble and fall to the sides even if the stakes don’t sag. Lucky for us, we’ve a genius Teaching Gardener among us (Thanks, Jenn!) who came up with this brilliant solution: knots! As she strings a row of twine, she identifies which way each vine is leaning and ties a stabilizing knot to hold the vine in place. So clever!

DSCF5247

Next year, we’re planning the following revisions for our tomatoes:

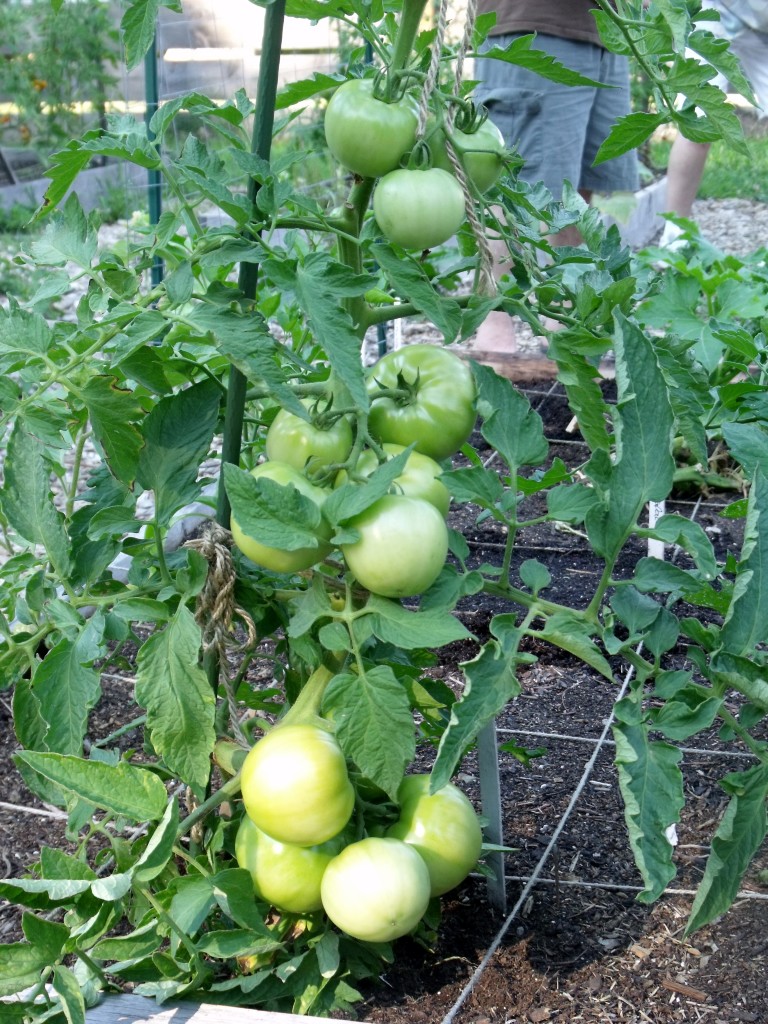
1)    Stake with sturdier metal stakes (like in the second photo, above), pounded further into the ground to support the full weight of the fruits. With these stakes, the weave will still work, but will be much more effective with the added use of Jenn’s genius knots.

2)    Alternatively, for anyone who finds the weave a bit too complicated for their liking, we’ll offer single stakes for each plant and tie directly to the stake.

We also wanted to point out how well suckering (pruning off the shoots in the branch joints) can work when done consistently. Check out this tomato plant! Kept to a single vine, the plant is demonstrating all of the key benefits of suckering we mentioned earlier this year: early production, larger, healthier fruit, and disease prevention. Nice work, Maria!

DSCF5252

So on the balance, we figure having beautifully pruned plants that produce too much heavy fruit for our stakes to support isn’t the worst result we could have in our tomato experiment. Wouldn’t you agree? Next season, we’ll still have plenty of improvements to make and hope for an even more impressive harvest!